3D Printing
Page 2 - A New Era!
08/05/2026
I eventually gave up with the original 3D printer as no matter what I did I could not get it to do what I wanted. It has been sat in the old bedroom workshop for the past 10 years gathering dust. One day last year a friend from the club announced that he had just bought a new Bambu Labs P1S printer and that sparked my interest again. I was in need of a way to make patterns for the new Lynton and Barnstaple locomotive so I asked him if he would print something for me so I could see how well it would turn out. I gave him the STL file for one of the horn patterns that I had designed. He turned up with a finished print at the club next week and to say I was impressed would be an understatement. The print quality was just so good compared to my earlier efforts. I was so impressed that I immediately ordered a printer for myself as soon as I got home!
I was really out of touch with the modern 3D printers and had no idea that they had improved so much since I bought the D5S Mini. The difference is like chalk and cheese. Also, the new P1S was less than half of what I had paid for the D5S 10 years ago!
The printer arrived the next day and it just worked straight out of the box and produced nigh on perfect prints straight away.
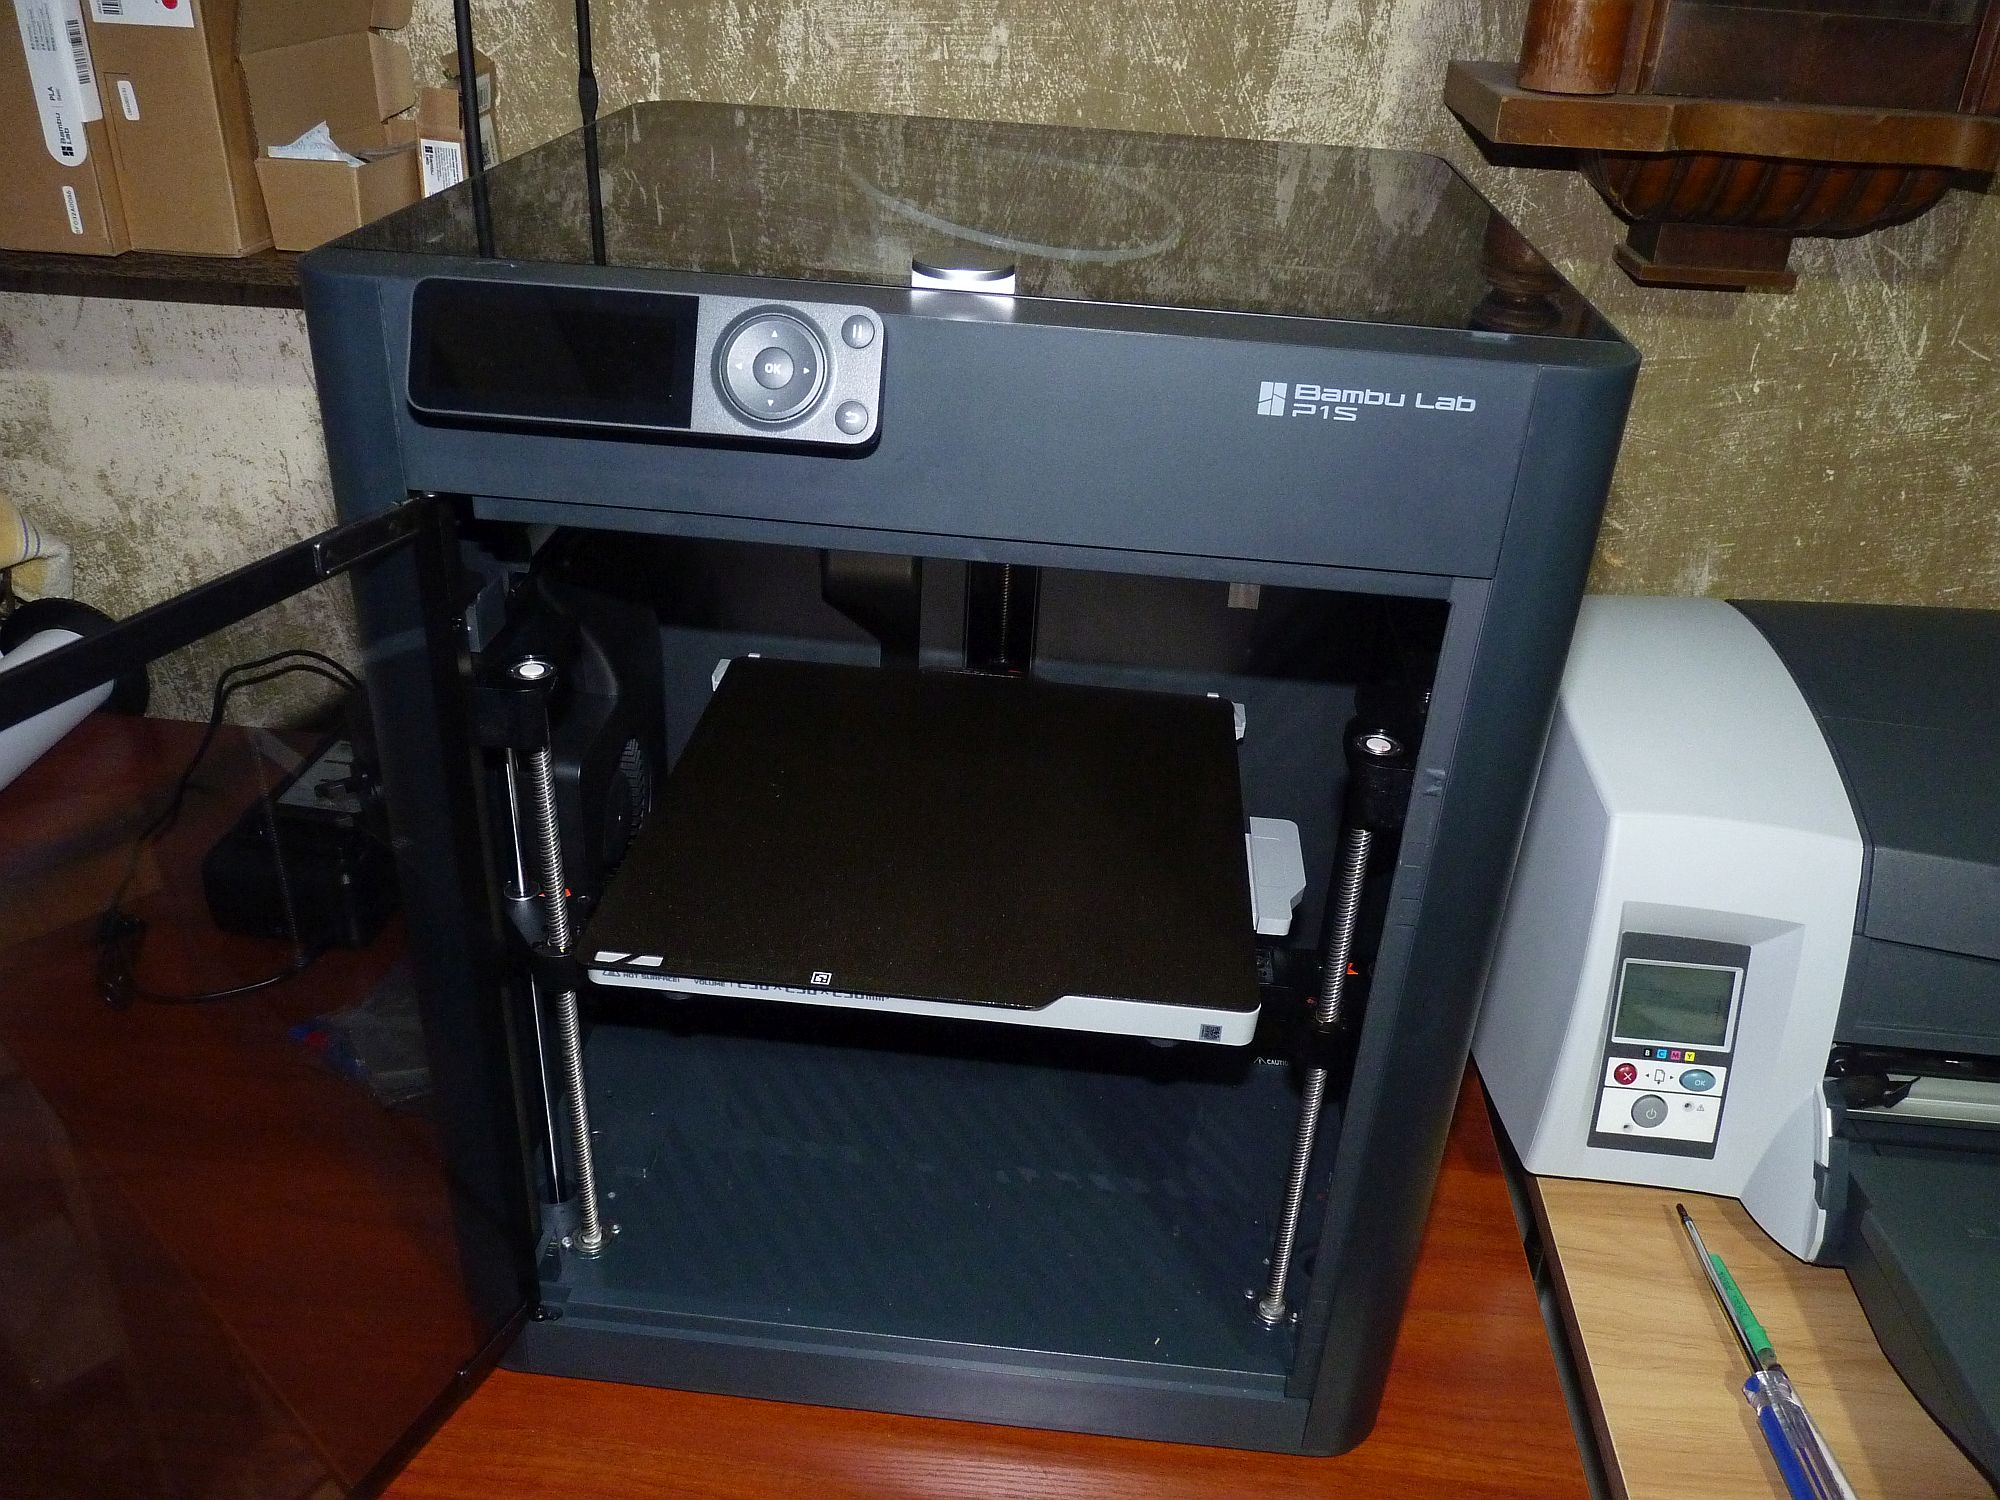
The only thing I don't like about it is the tiny micro SD card used to transfer files to the printer. It's very small and fiddly! I would have preferred a USB stick. To be fair, the idea is to connect to the printer from your PC wirelessly but it involves going through a server at Bambu Labs and I am not very keen on that idea. That method does have the advantage that you can monitor the prints whilst printing using the inbuilt camera in the printer but I can't say that I find not being able to do so that much of a disadvantage. There is a way to connect wirelessly without having to go through the remote server but I haven't yet managed to suss that out and get it to work so I just transfer the files with the SD card.
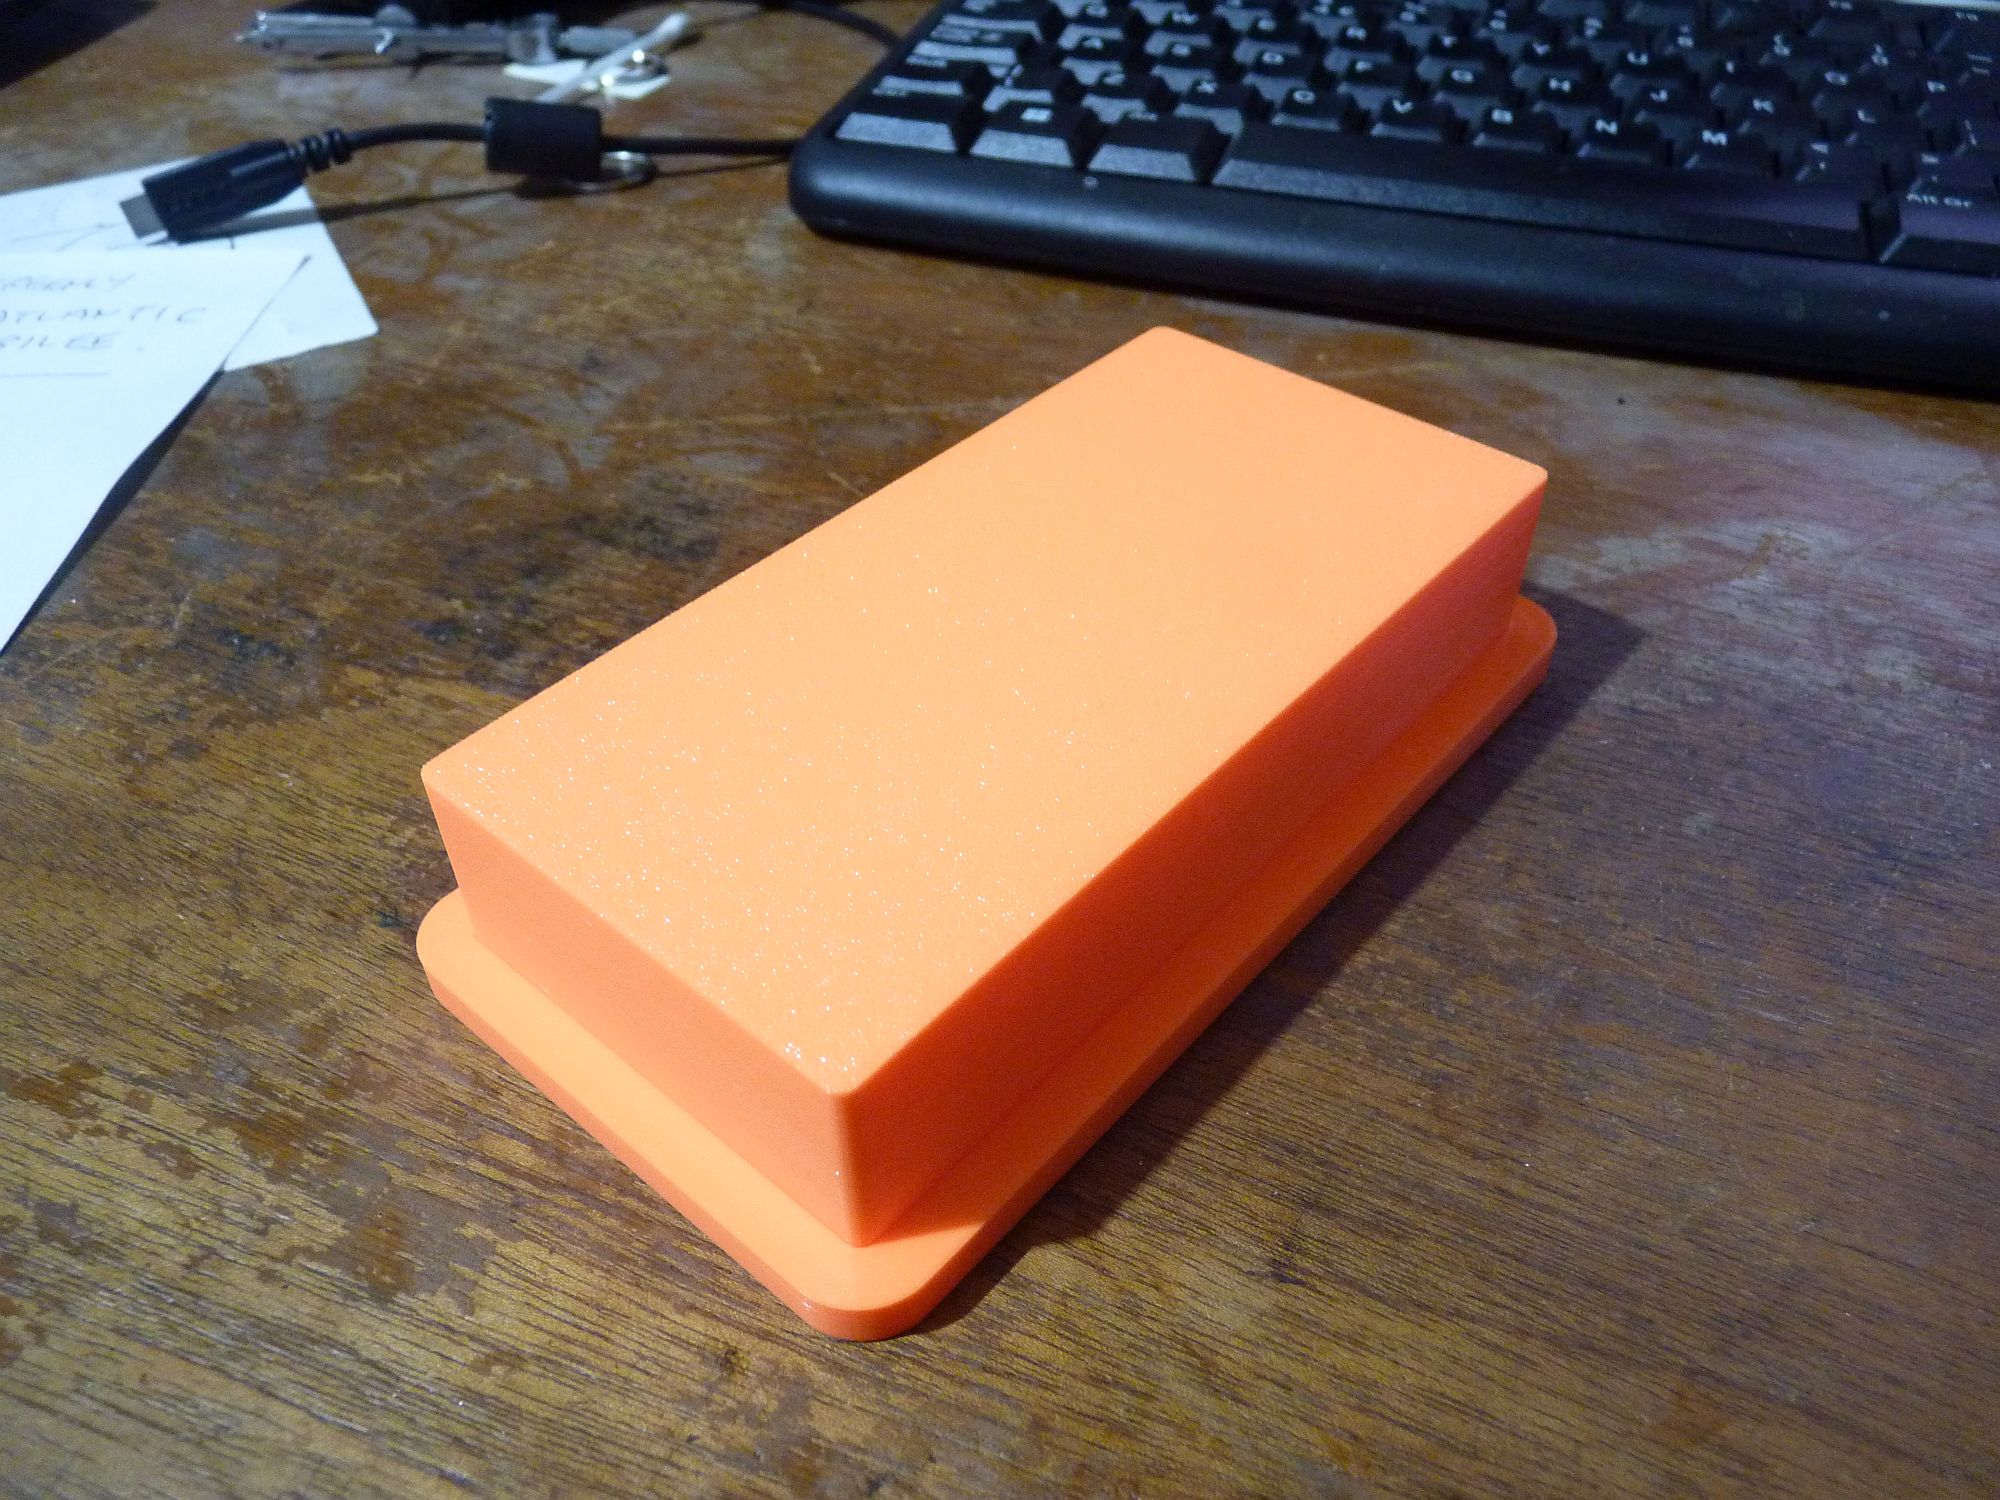
The first thing I printed was the horn pattern and it came out very well. This is a 'double' pattern and makes two horns.
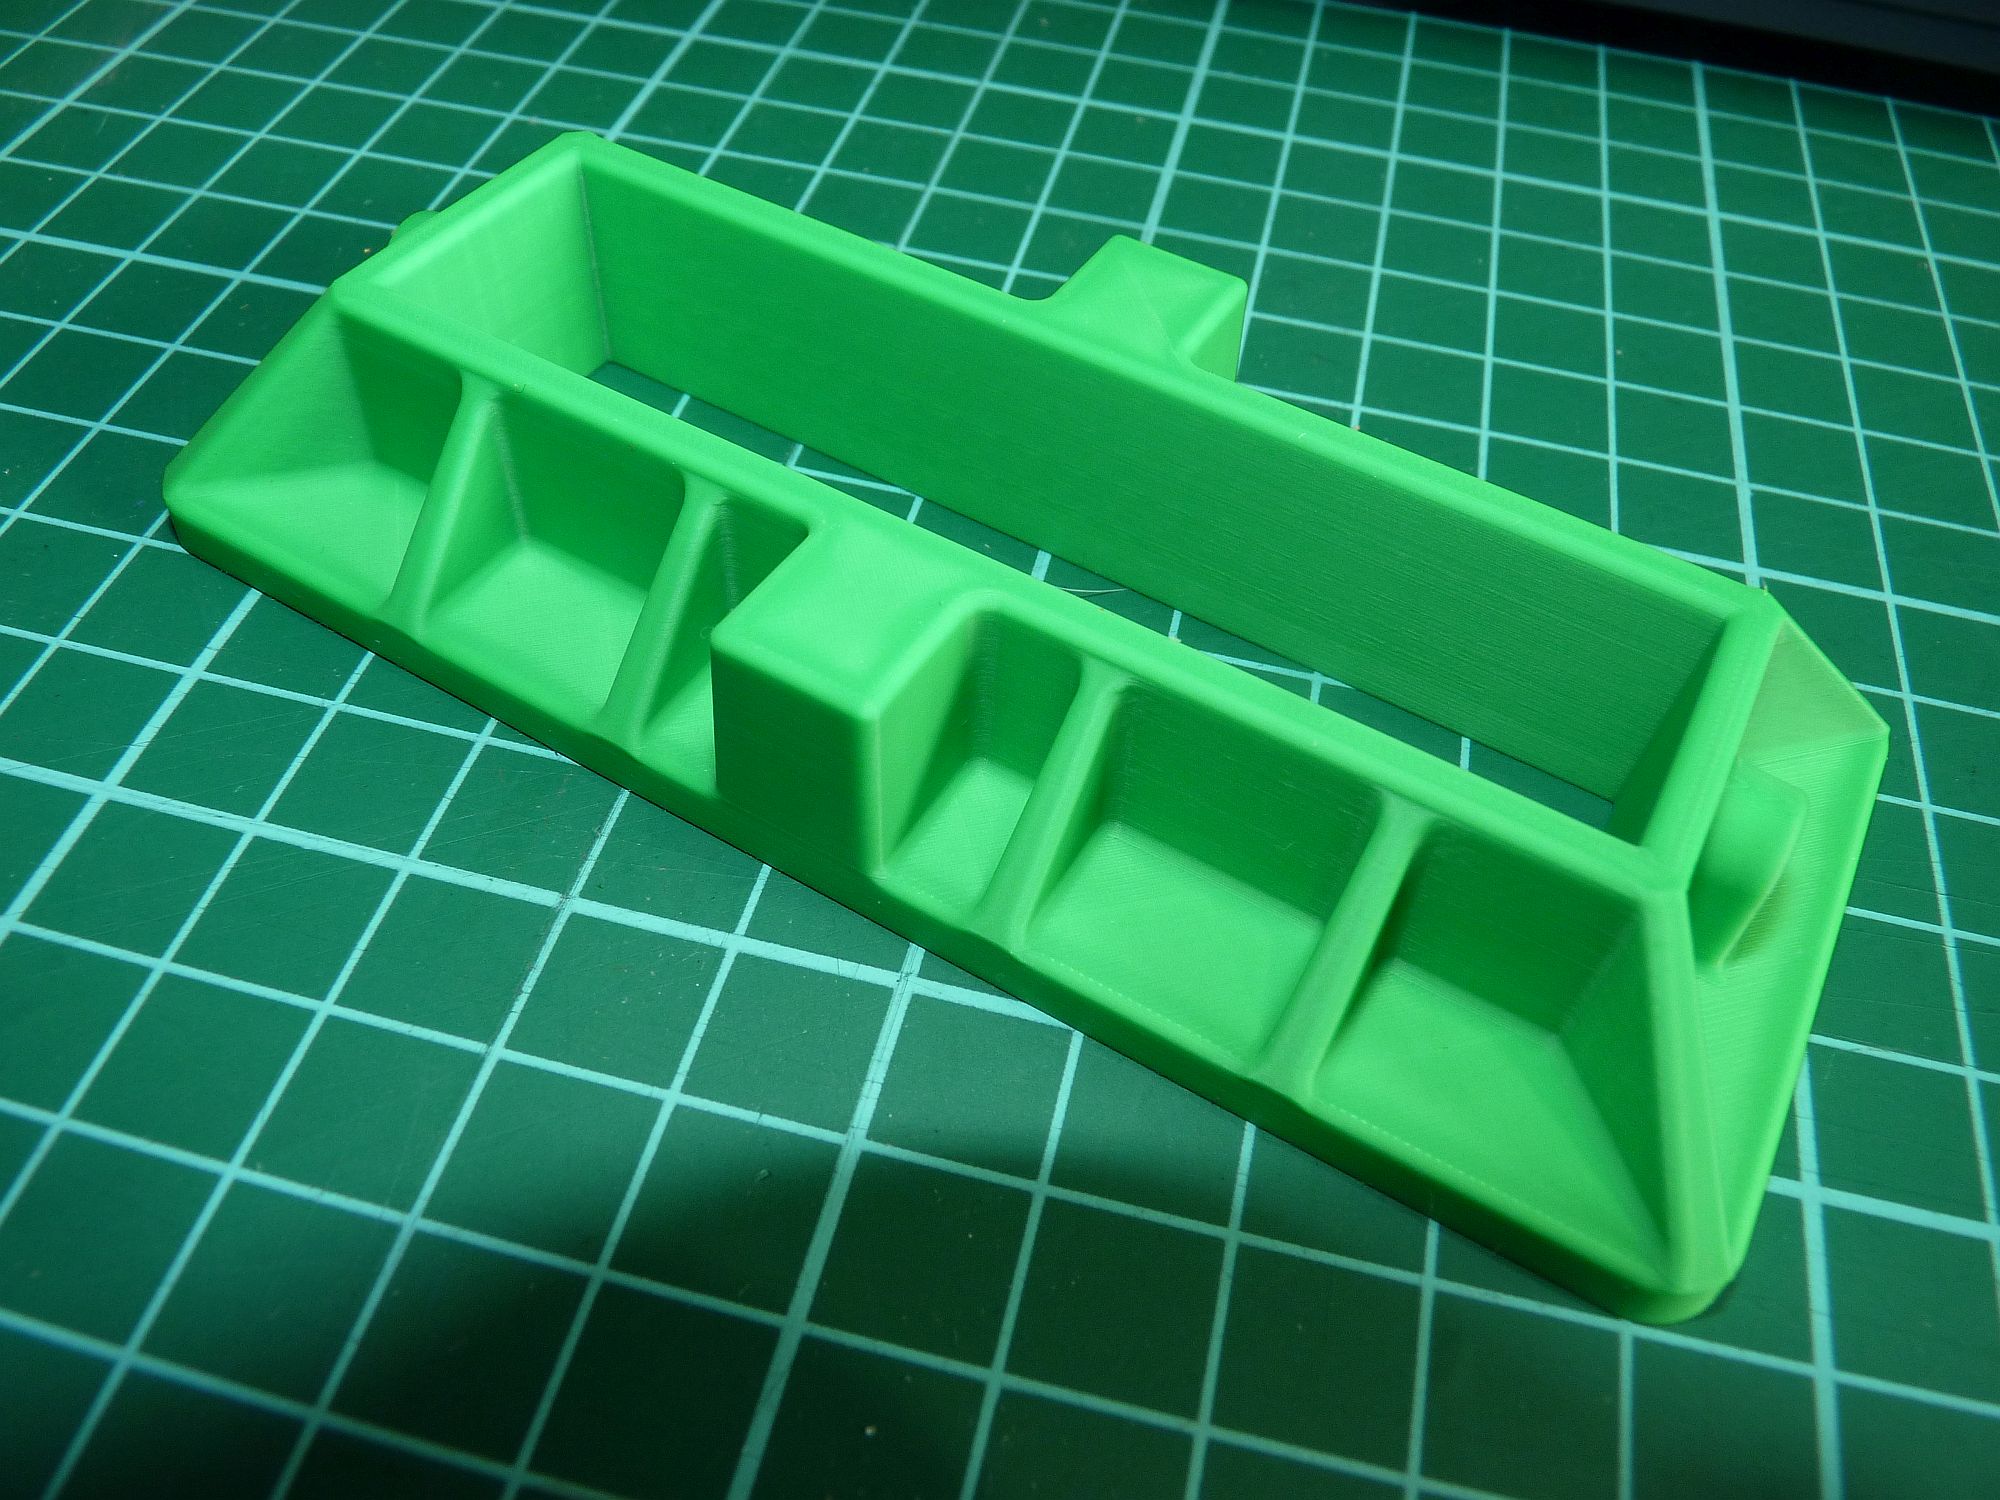
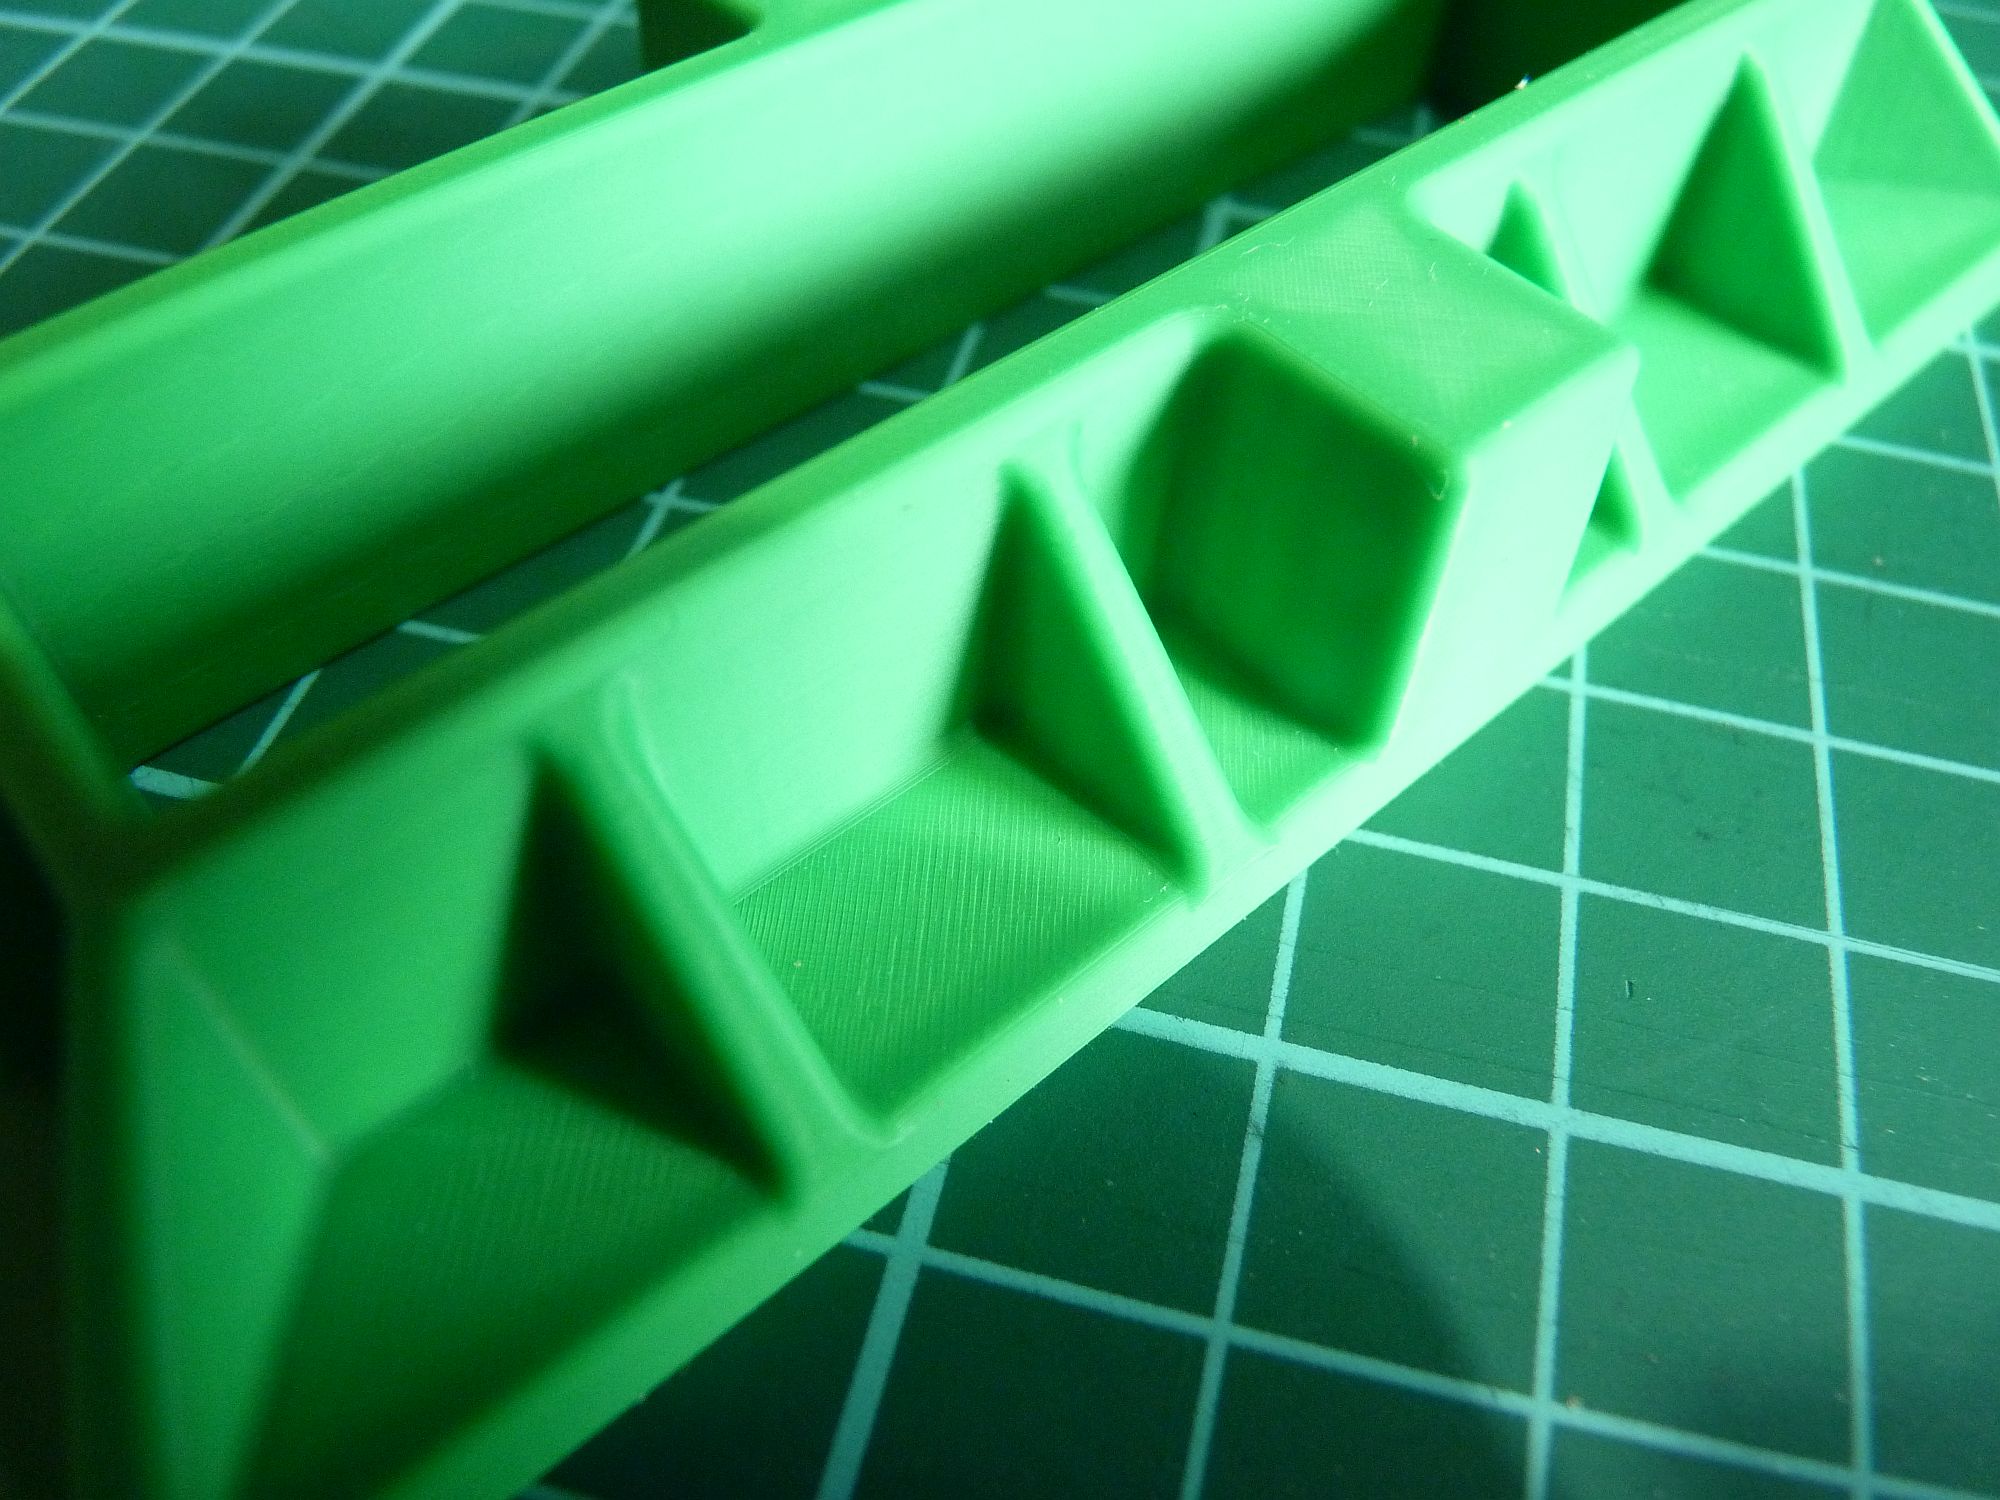
This is printed in ordinary PLA with the standard 0.4mm nozzle and a layer height of 0.08mm. I later bought a 0.2mm nozzle which will print down to a layer height of 0.06mm but at considerably longer printing times. This does give an improvement in the surface finish though. I'm hoping that the patterns will not need any further surface finishing and can be used straight off the printer. I have bought some casting sand etc. to experimant at home and confirm this before sending the patterns off to the foundry.
I have now printed several other patterns with no problems at all. The printer has just worked every time so far. I have been using the 0.2mm nozzle for these to get the best possible surface finish. The time taken to print can be long but the printer seems so reliable that you can just set it going and go and do something else.
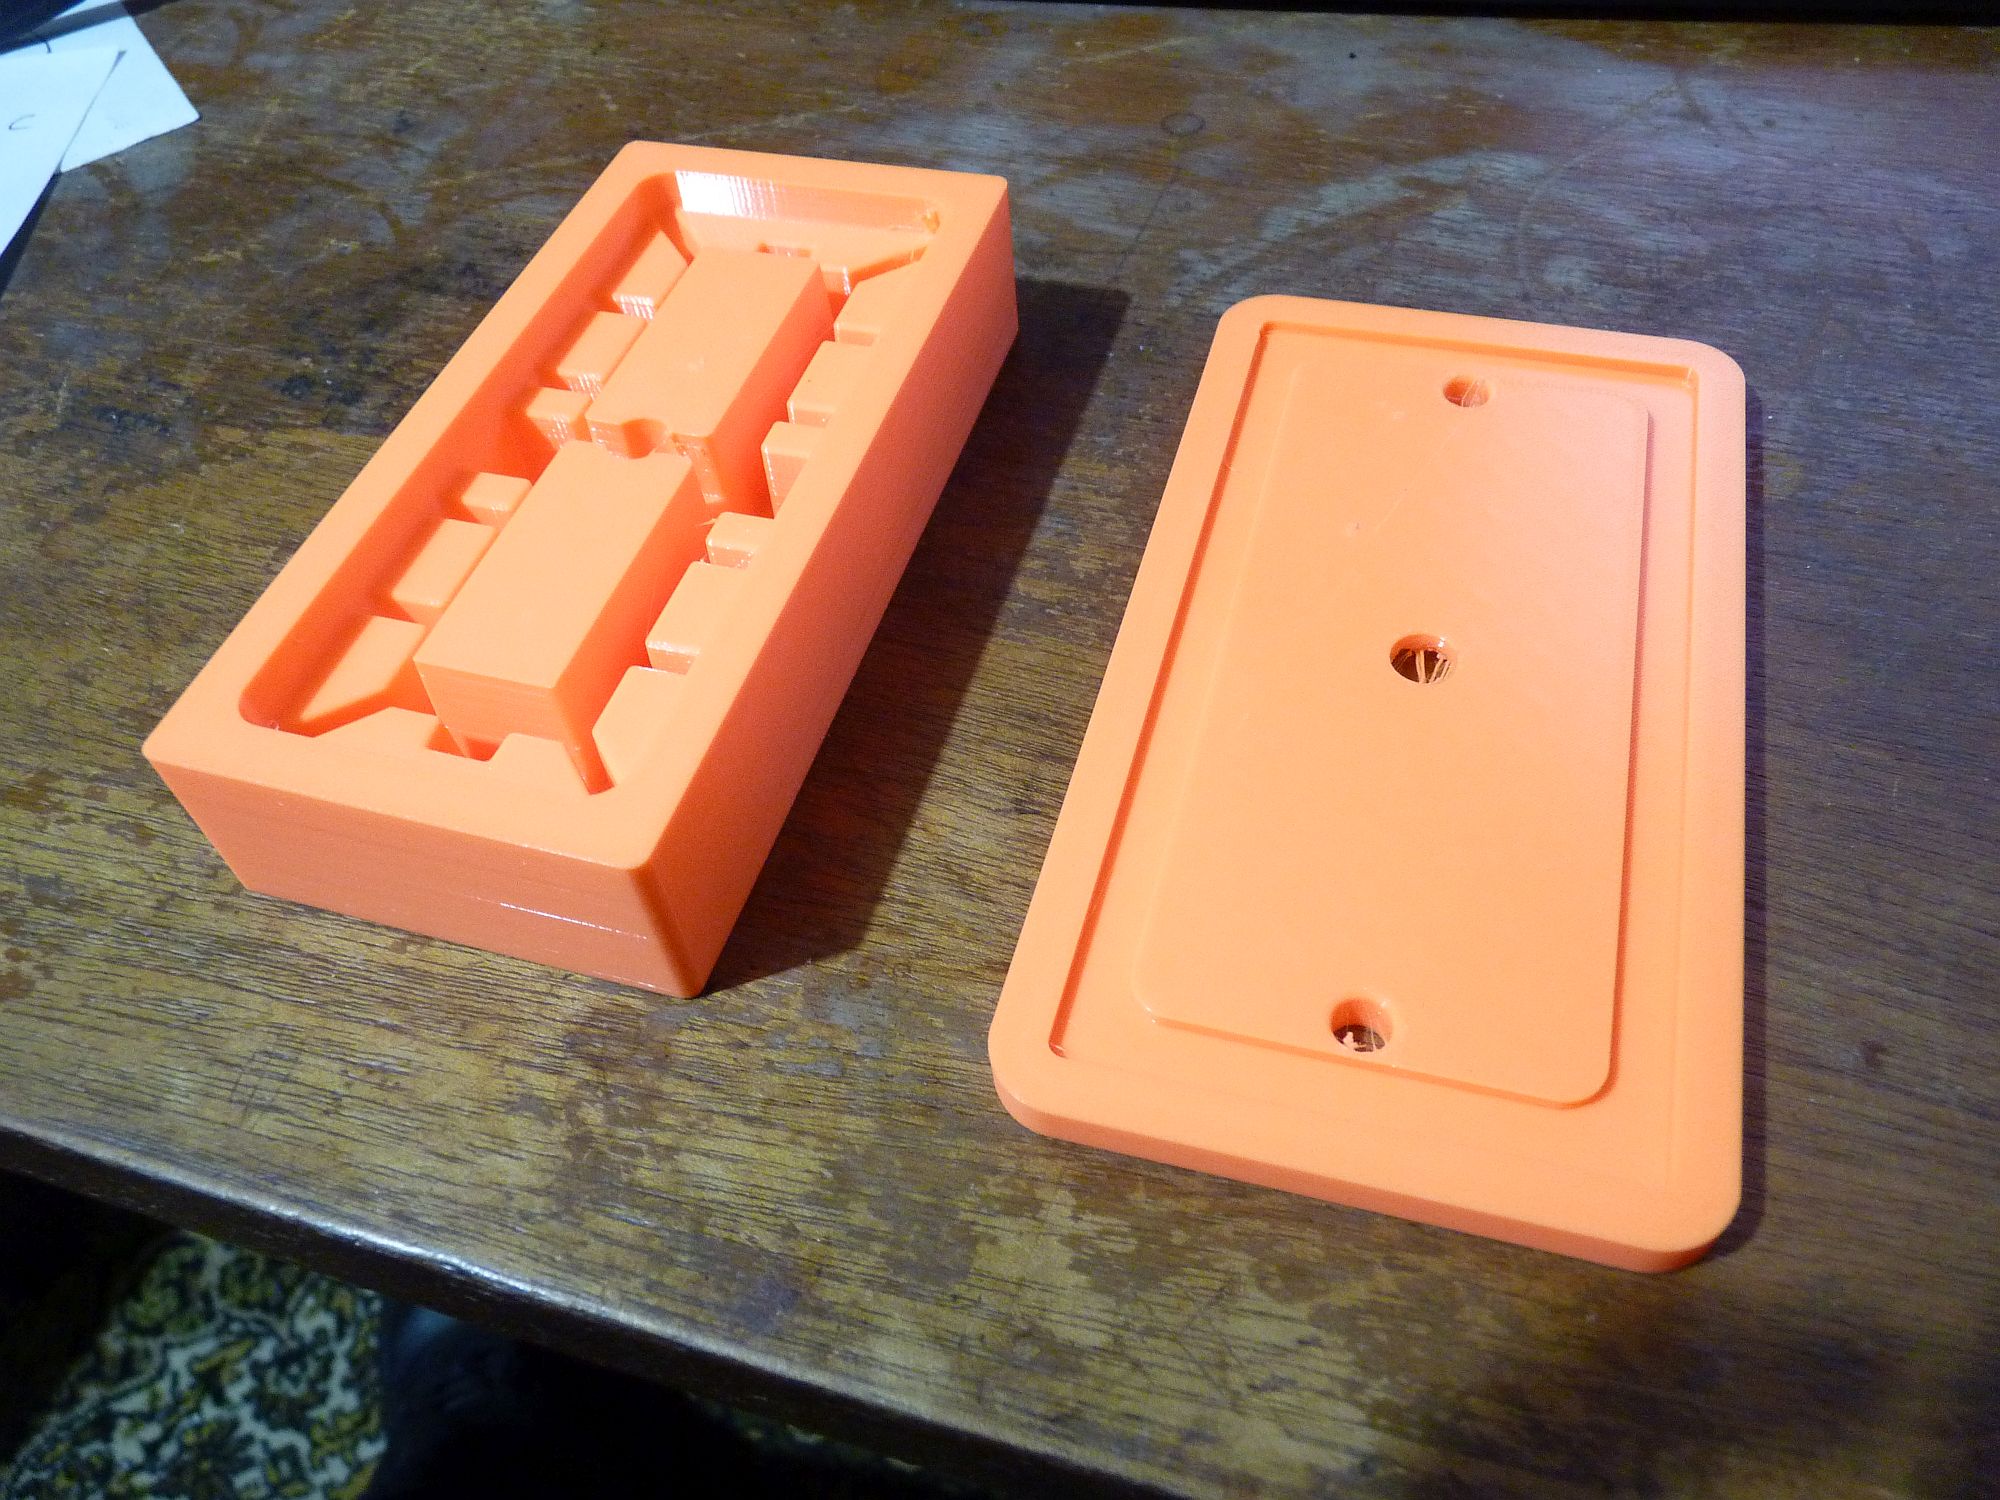
I also had a go at printing a 'reverse' horn mold using flexible TPU filament. The idea was that this could be used to make waxes for lost wax casting. The flexible mold would enable the waxes to be removed fairly easily without damaging them. Despite everyone saying that TPU can be a pig to print, I had no problems and it came out much better than I was expecting.There was some stringing but nothing that could not be easily removed.
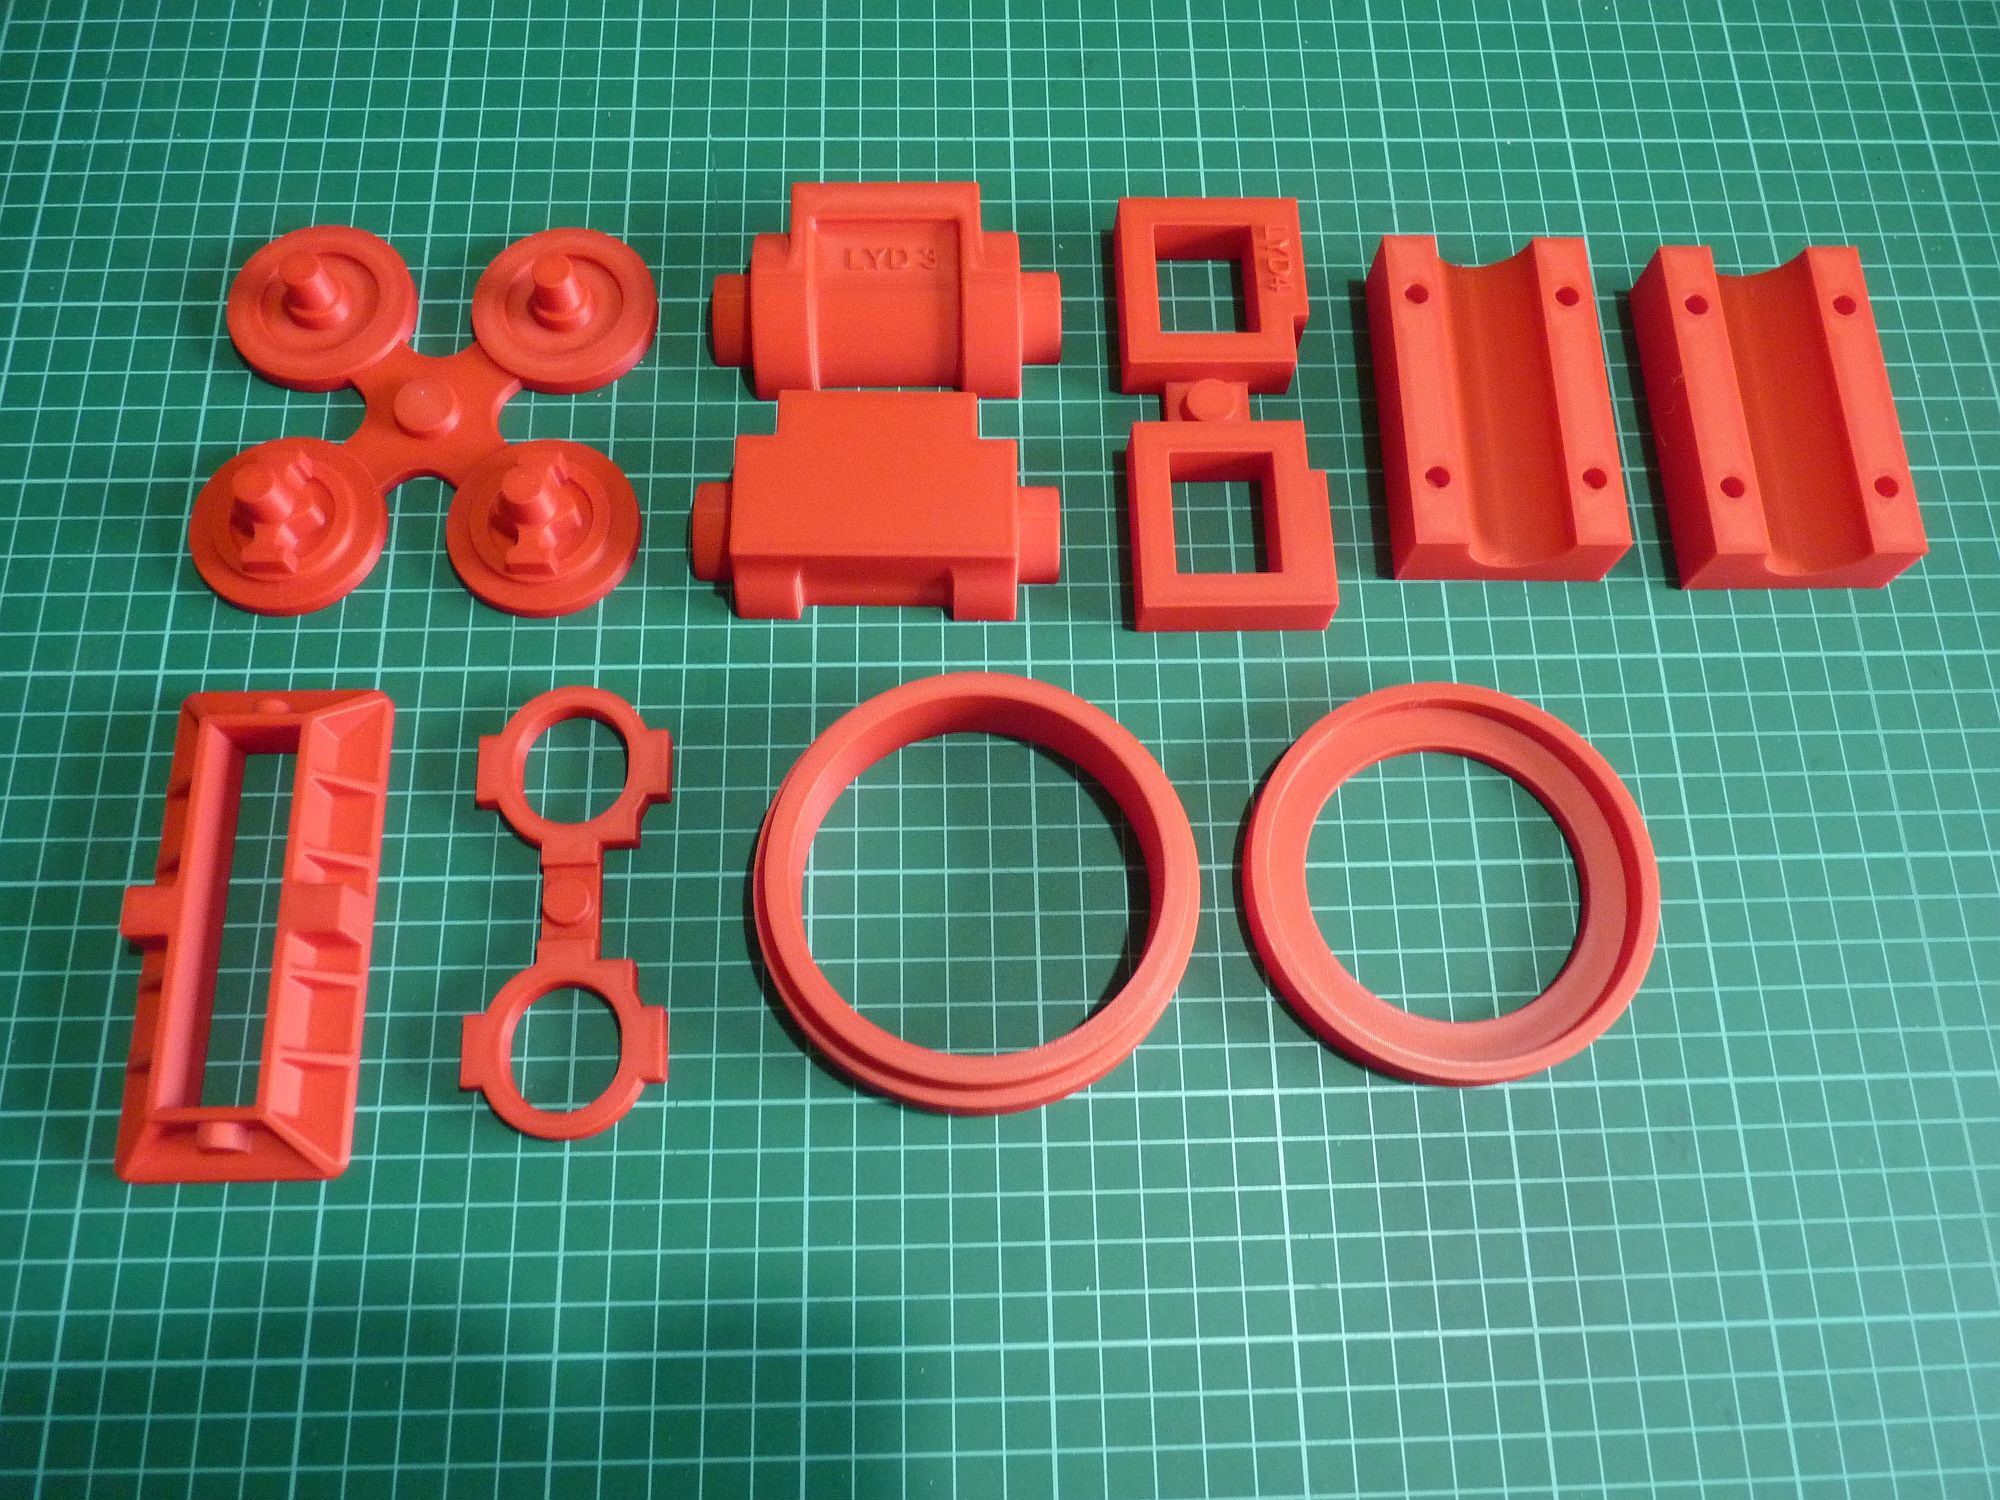
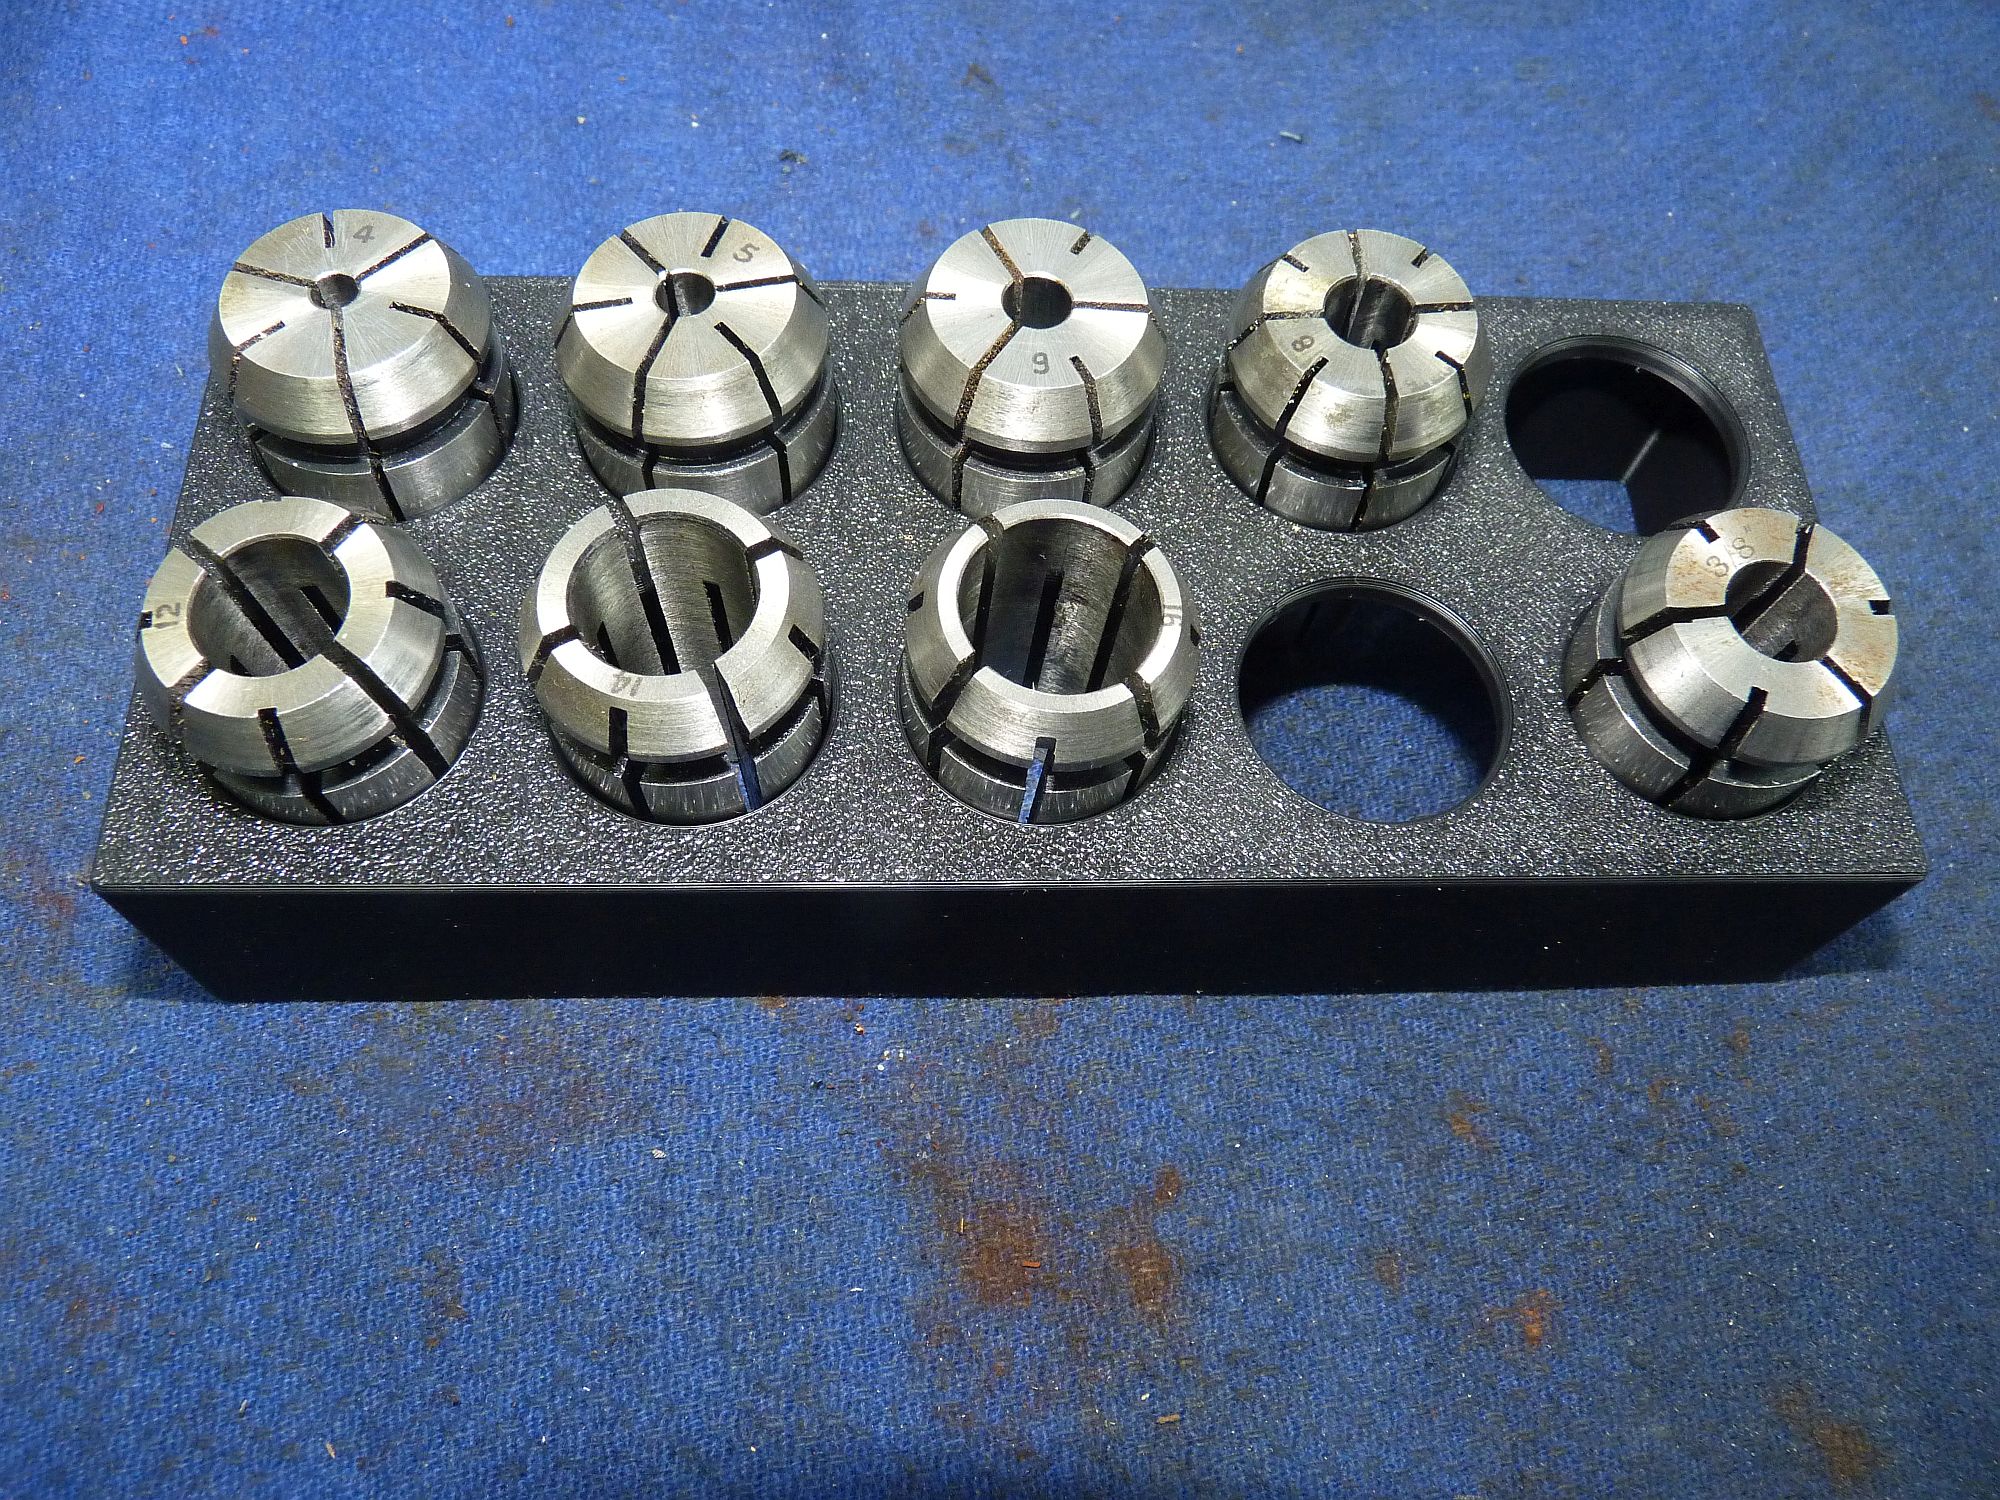
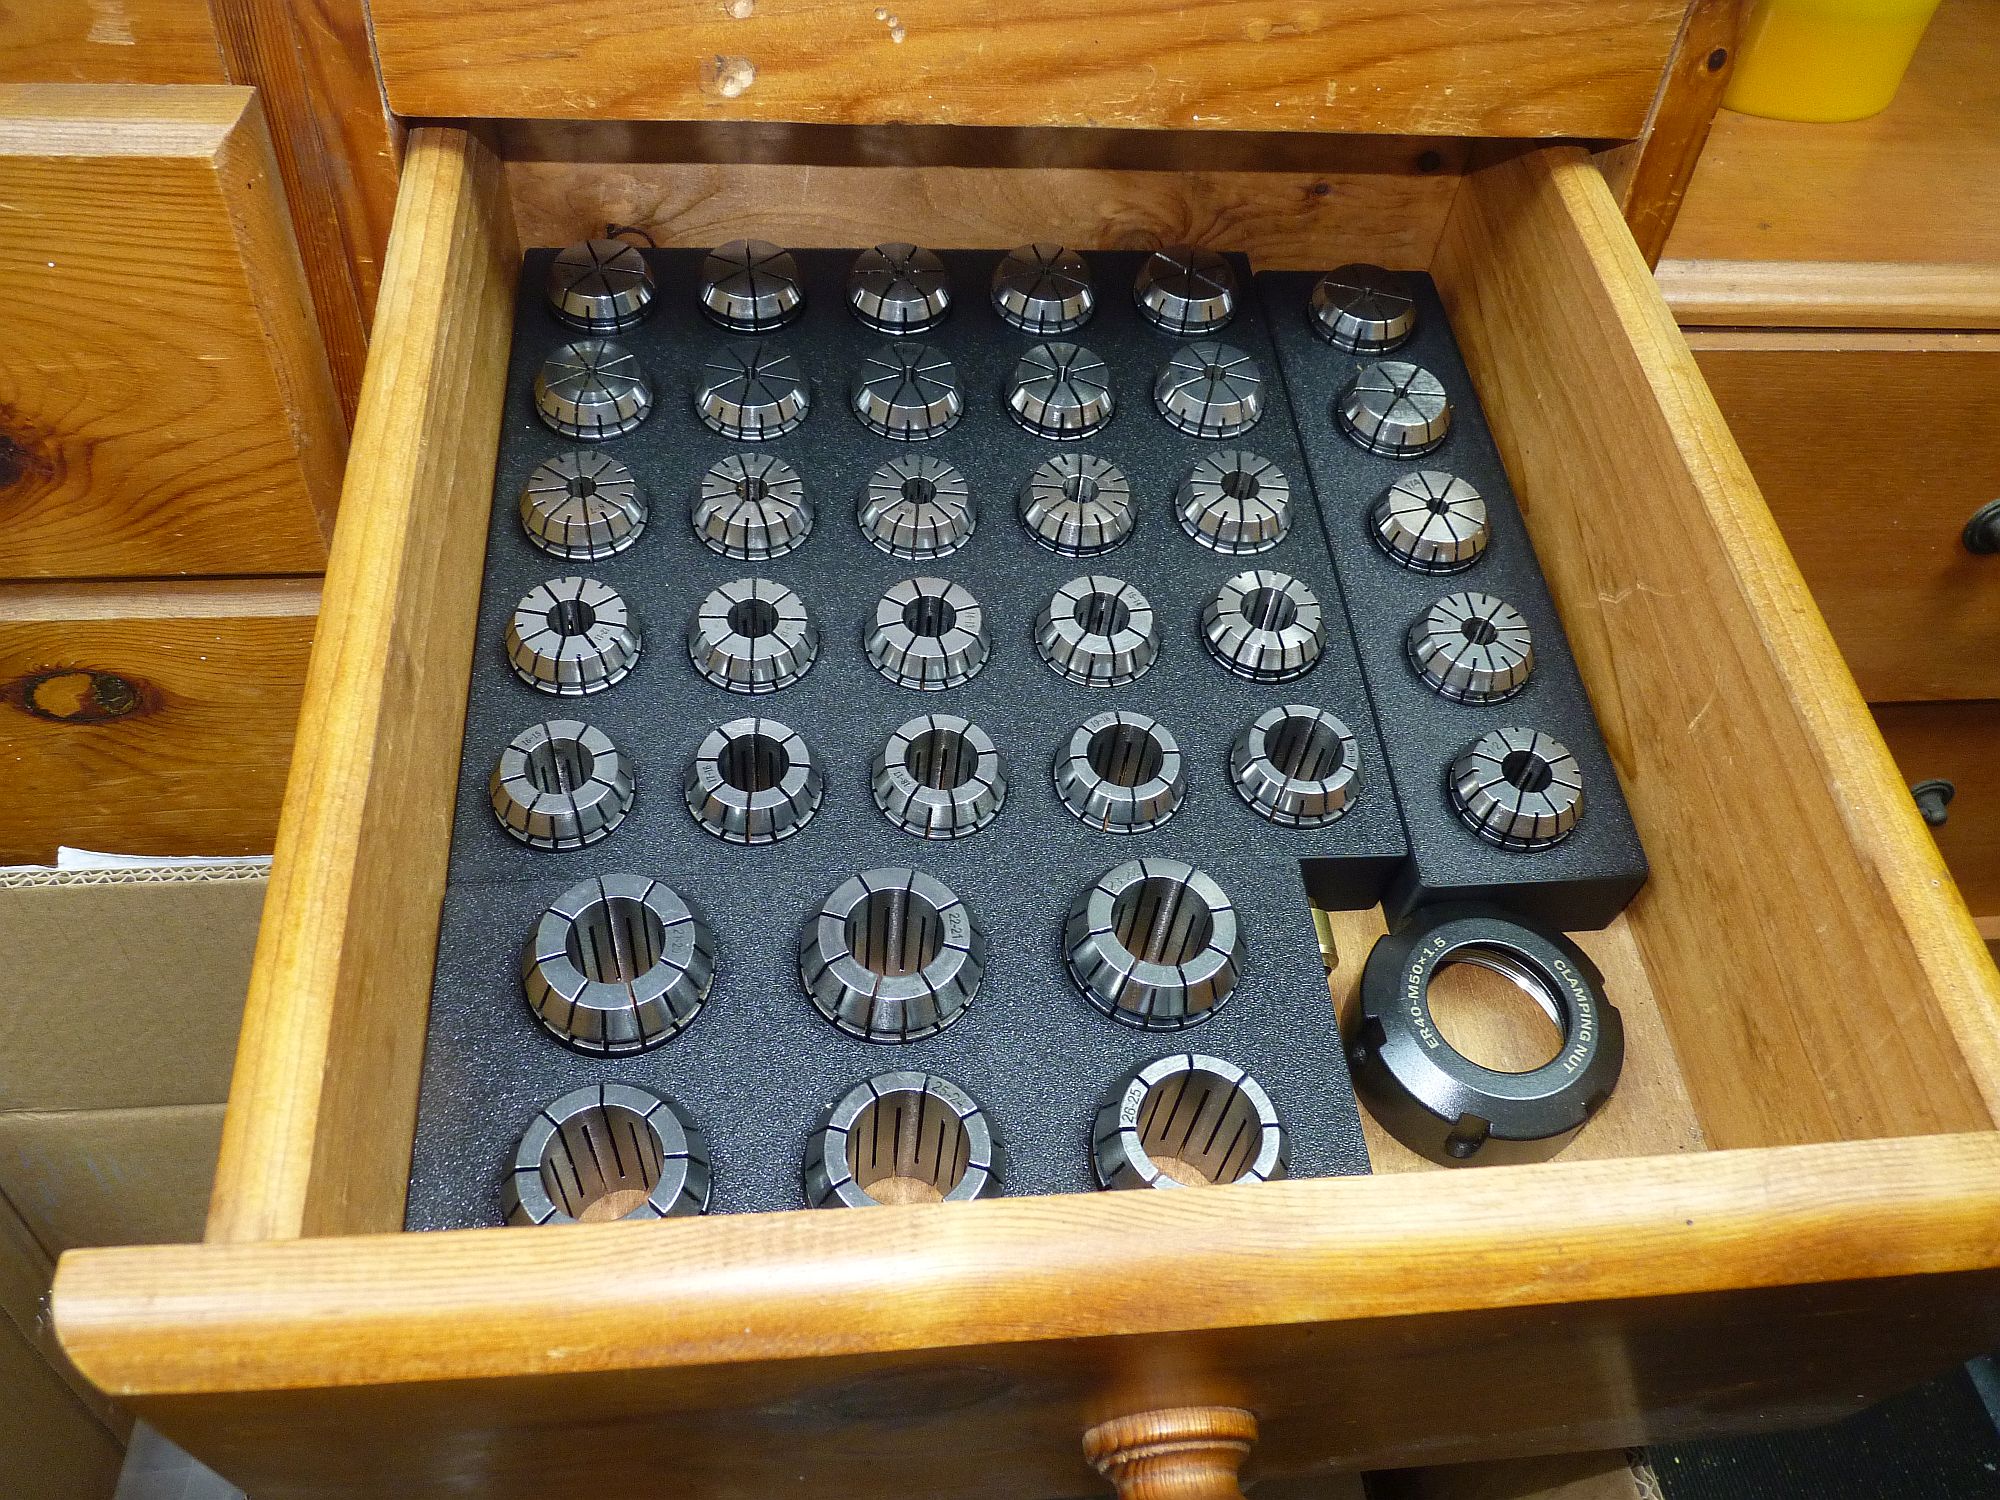
As well as printing patterns I have found other uses in the workshop. I have printed racks for holding collets etc. and fixtures for holding things like boilers on the milling table. The uses for a 3D printer in the workshop are endless!

The boiler holding jigs were printed when I was finishing another Helen Long boiler for someone. They enabled me to easily clamp the boiler barrel to the mill table when I was drilling for the stays. The diameter of the curved top was made oversize to allow some thin cork to fit inbetween the jig and the boiler to prevent damage. The nub on the bottom fits the Tee slots in the mill table and automatically aligned the barrel with the table. The jigs without the nubs were used on top of the boiler to clamp it down using the usual threaded rods and clamps.
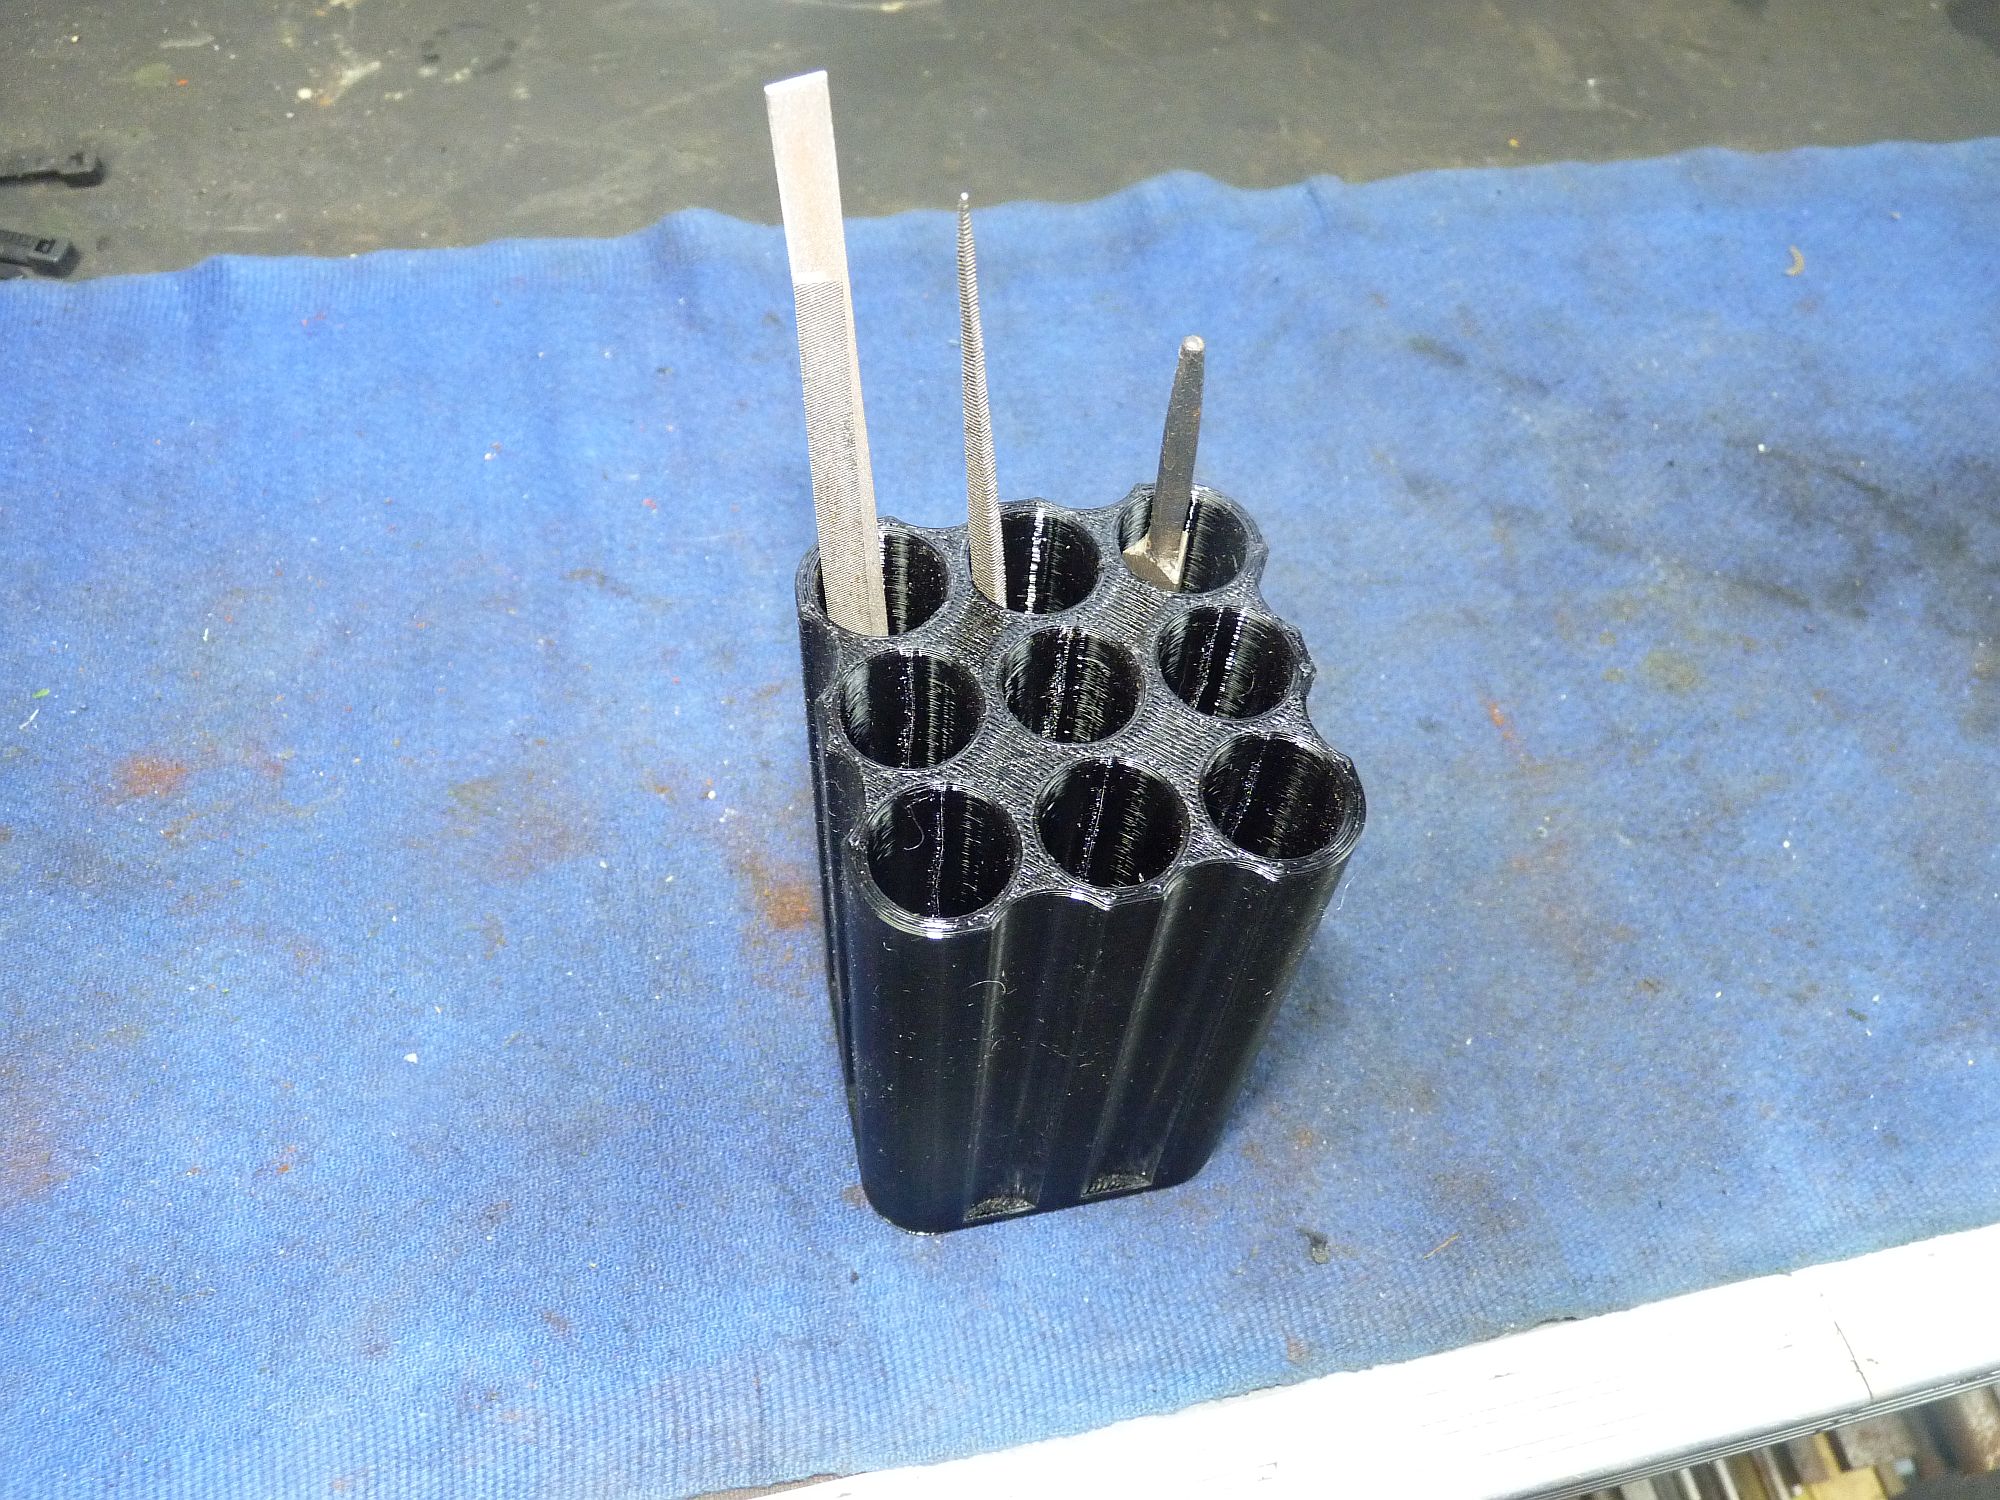
Another item printed by a friend for holding needle files:
< Return to Previous Page ..........