Helen Long Boiler
09/05/2026
Earlier this year I was contacted by a member of the N25GA who had acquired a part built Helen Long with a partly completed boiler. He didn't fancy having a go at completing the boiler himself so asked if I would be prepared to finish it for him. I agreed as it would help to get another Helen Long running some time in the future. He sent me a couple of photos of the boiler and the workmanship looked quite good so far. It just needed a few bushes adding, the backhead soldering in and all the stays fitting.
Boiler as it arrived:
Unfortunately I didn't take any photos as I was working on the boiler as I just wanted to get it done and out the door. I only took photos when it was completed and tested.
The first job was to fit some extra bushes on the backhead and the front tubeplate for the longitudinal stays, another on the backhead for a blowdown and one on the end of the barrel for the steam turret. The backhead was then silver soldered in place after fixing it with some 8BA bronze screws. At the same time I added the rear part of the foundation ring and a fitting for the top of the water gauge.
I had already decided that it would not be possible to silver solder the inner firebox ends of the firebox stays as it would be nigh on impossible to get the torch in the very confined space. Instead I made the stays from 4mm bronze rod, threaded 4BA on the firebox end and screwed into the inner firebox. The ends would be fitted with brass nuts and sealed with Comsol as I had done with my own Helen Long boiler. The outer ends of the stays were silver soldered to the outer shell, again as per my own boiler. All the holes for the stays were drilled with the boiler clamped to the mill table using 3D printed jigs (as mentioned in the 3D printing section). After the stays were soldered in, the outer ends were trimmed to just proud of the outer wrapper using an endmill in the milling machine.
The longitudinal stays are my normal type with threaded bronze ferrules silver soldered to the ends. I used a commercial blower valve on the hollow blower stay rather than make my own to save time. I drilled and tapped the dome bush and the regulator bush on the backhead and fitted stainless steel studs, I then made a dome cover and a regulator flange out of bronze to seal off the openings for testing.
I would like to say that the boiler passed the hydraulic test first time but it was not to be. I found several small leaks on some of the original soldering so these were sealed with Comsol. I was pleased that none of my soldering showed any leaks at all which did surprise me! The inner ends of the stays were a real pig to get at for applying the Comsol to the stays and the nuts so I was expecting a few leaks on some of those.
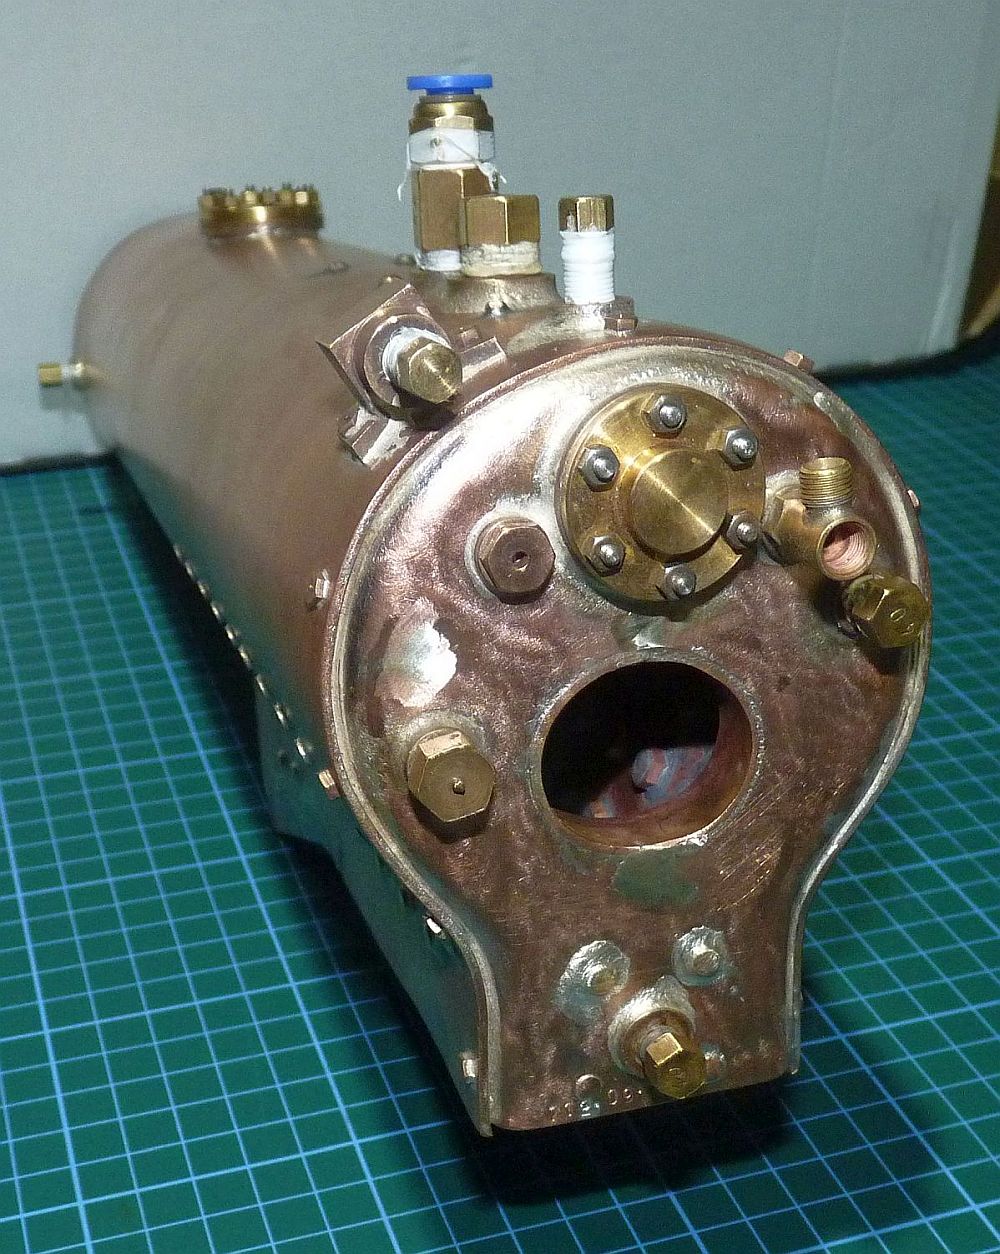
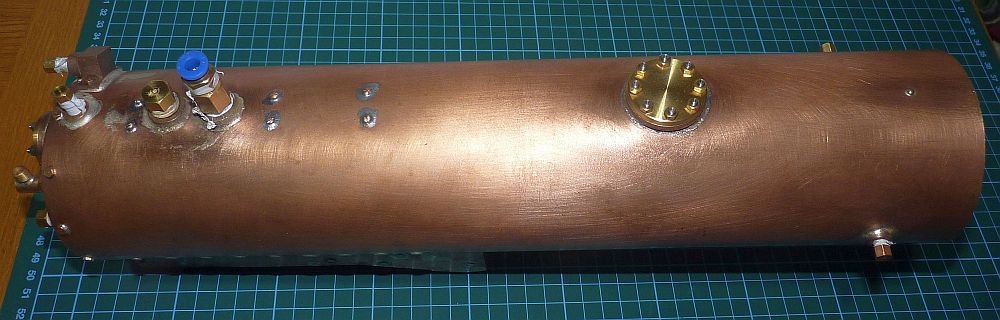
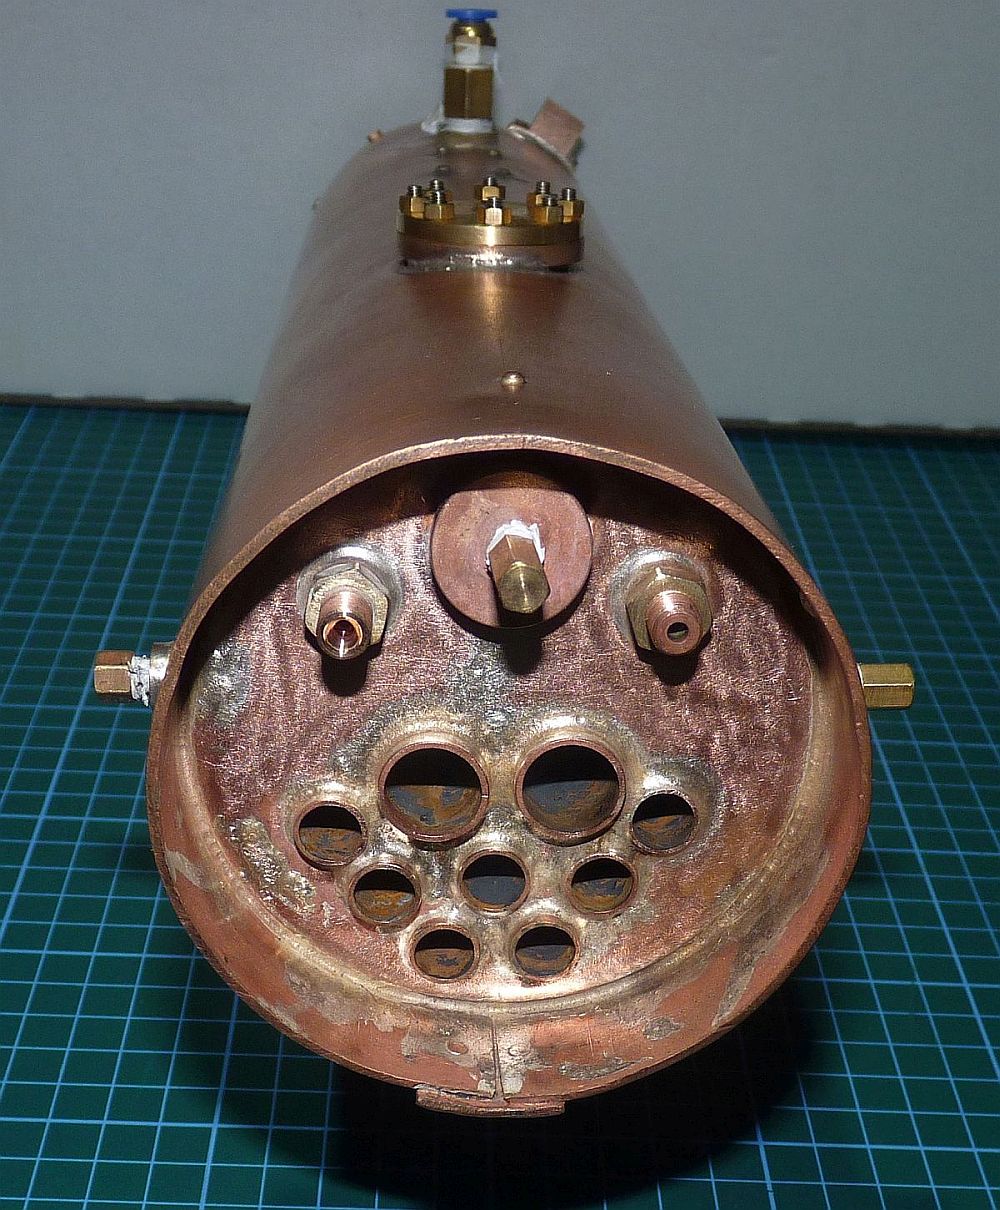
The completed boiler:
< Return to Previous Page ..........